Reporting and Email configuration
Print Example
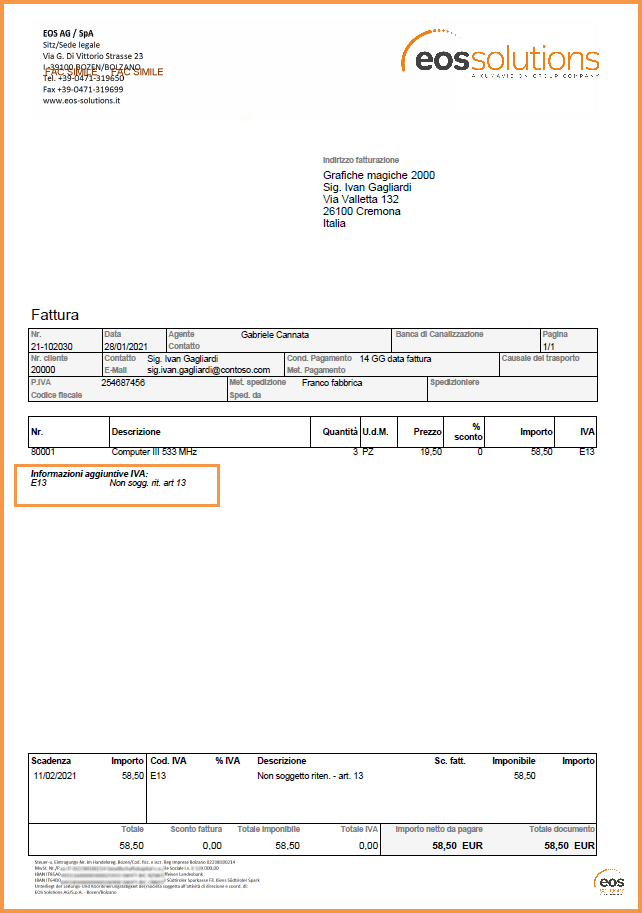
NOTE
It is possible to set a VAT Category in the standard “VAT Clauses” table, in order to print on the documents the additional information on the type of VAT that is applied.Setup (ADR)
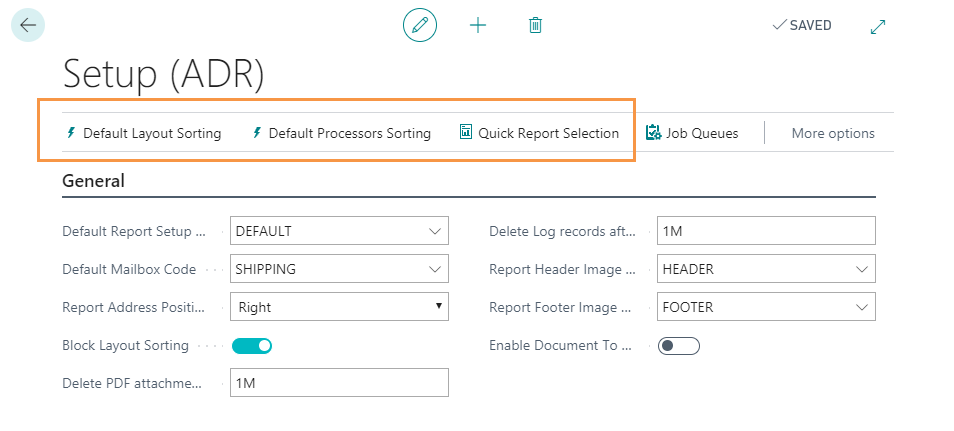
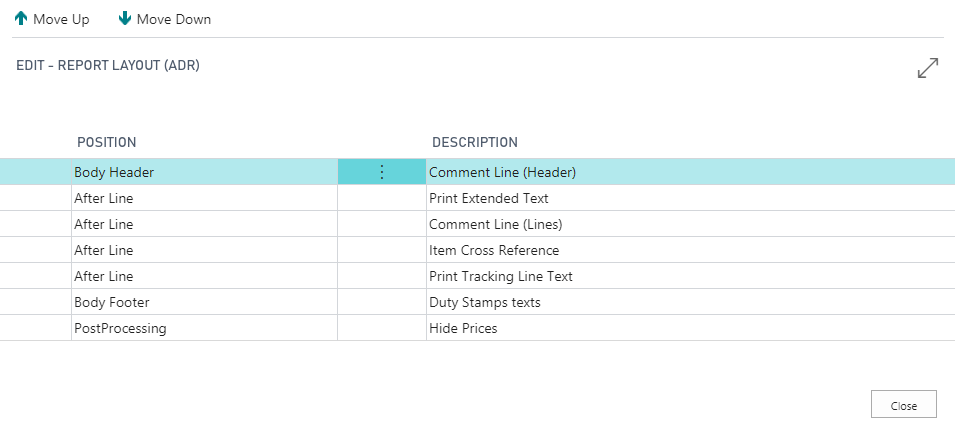
Through Default Layout Sorting it is possible to define the details that the pdf must contain (e.g. if the prices will be printed or not, if comment lines will be printed, etc.). The Move Up and Move Down arrows allow you to change the layout.
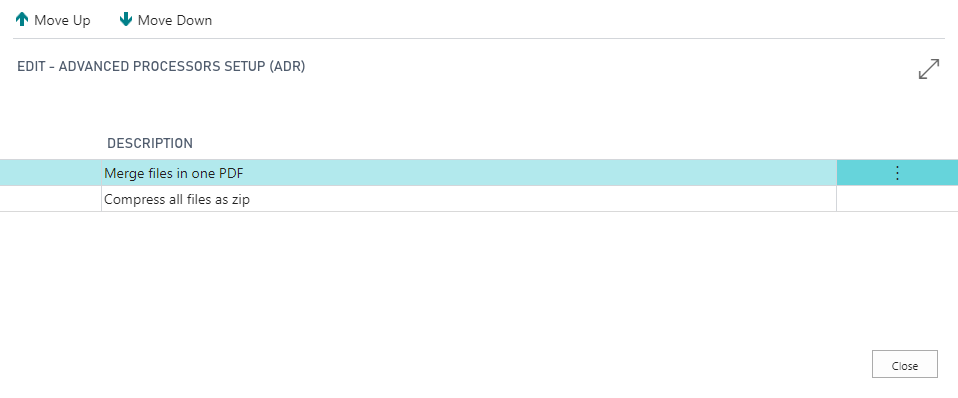
Through Default Processors Sorting you can choose the order in which the documents will be processed. The Move Up and Move Down arrows change the sort order.
Quick Report Selection
This feature allows you to quickly set up the reports provided by the Advanced Document Reporting application.| Field | Description |
|---|---|
| Default Report Setup | select from a report code to use as default from the list |
| Default Mailbox Code | select the mailbox settings to be used as default |
| Report Address Position | specify the address position * right * left |
| Block Layout Sorting | use default layout sorting on all documents. In Setup report it will only be possible to decide what to print and what not to print. Sorting will be defined in the General Setup. |
| Delete PDF Attachment | indicating the date formula 1M the system deletes pdf files from the log table that are older than a month |
| Delete Log records after | Indicating the date formula 1M the system deletes log records that are older than a month (it is necessary to aenable the scheduling). Note: deleting log records implies that pdf files are deleted too. |
| Report Header / Footer Image No. | choose an image for the header / footer of the documents (a maximum of two bitmap for a logo or other images). Dimensions: * Header 18,5cm x 3,3cm * Footer 18,5cm x 1,5cm Supported file extensions: PNG, BMP, GIF, JPEG. Minimum recommended resolution: 300 DPI. The space for the image logo is as wide as the page is large. So you have the possibility to place the image where you need, before applying it. Sandard Nav positioning options are not supported. It is possible to include Company information or another type of text inside the logo. E.g.: you can place a logo in the header and an image containing company information in the footer of the document. NB Images can also be uploaded directly to the Report image list (ADR) page.ADR. |
| Enable Document To Address | In the Customer card, in the “Address & Contact” tab there is the “Documents-To Contact No.” field. This field is also reported in the sales documents header and on the registered documents. When an invoice is created, for example, the system takes the billing address from this field, if filled in. The option is automatically ACTIVATED when the app is installed. |
| Service Config Code | In order to Merge PDF into a single file, this field need to be validated with a valid EOS Function API Configuration. |
| Filename in language | The filenames will be generated in Customer Language |
Report Setup (ADR)
The Setup Report (ADR) allows you to define a report code and for which document you want to use it. It is also possible to specify whether the logos and the address are to be printed for this report and where to print them. Finally, choose how many copies to print.
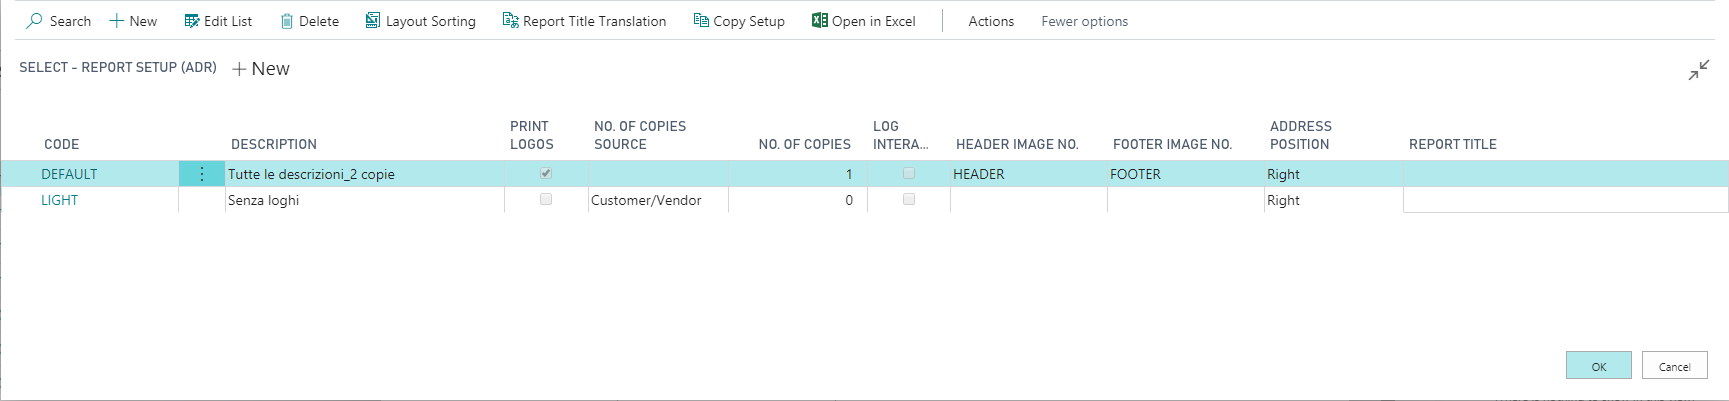
| Field | Description |
|---|---|
| Code | assign a code to the report |
| Description | you can enter a description |
| Print logos | decide whether or not to print the logos |
| No. of copies source | choose whether to take the number of copies from the Customer / Vendor card |
| No. of copies | indicate the number of copies of the document to be printed |
| Log interaction | choose whether to enable the log |
| Header image No. | choose the image of the document header from the list |
| Footer image No. | choose the image of the document footer from the list |
| Address position | establish the position of the address (right or left) |
| Report title | you can assign a title to the report |
NOTE
Layout Sorting: you can change the layout of the document (if the option Block Layout Sorting in the general setup has not been activated) and choose what to print.E-Mail Texts (ADR)
In E-Mail Texts (ADR) it is possible to define the text of the e-mail body by pressing New:
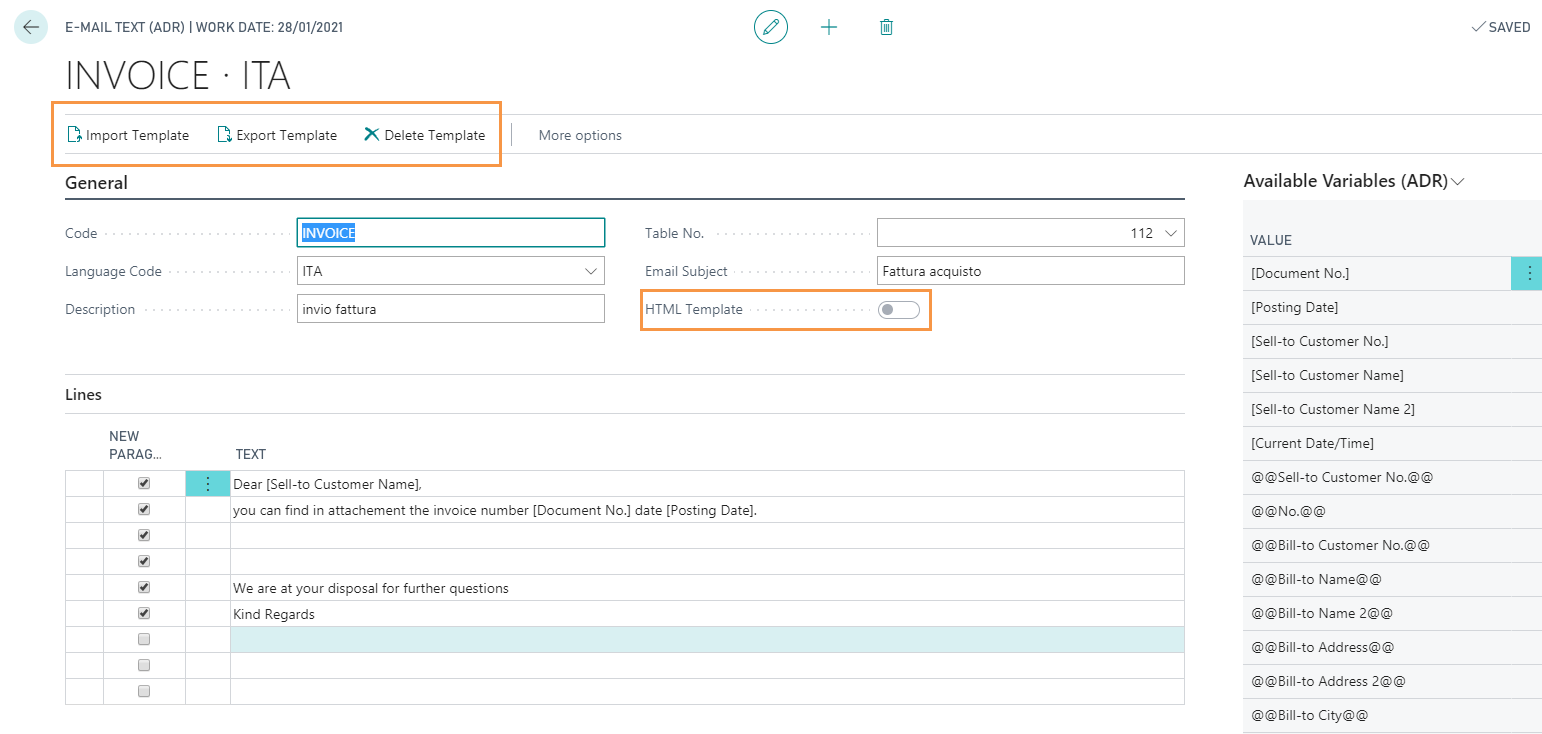
| Field | Description |
|---|---|
| Code | assign a code |
| Language code | the text can be multilingual. Select the language of interest |
| Description | it is possible to enter a description |
| Table No. | specify the table |
| Email Subject | indicate an email subject |
| HTML Template | By “Import template” you can choose a template to better view the emails. Once the template is imported, the option is automatically activated. |
| Avaliable Variables | through placeholder it is possible to insert dynamic values in the text |
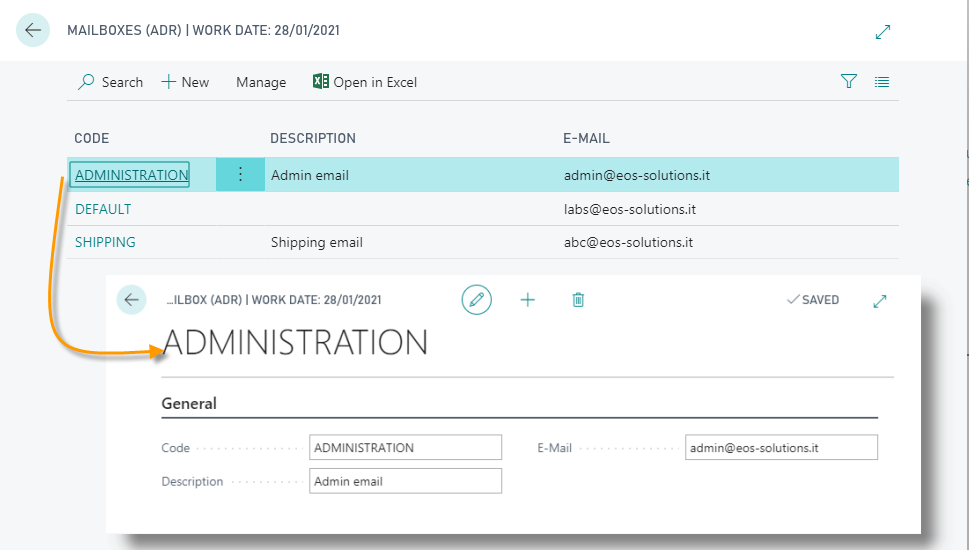
Mailboxes (ADR)
Unlimited mailbox setups can be configurated. Fill in a code, a description and a sender address.
You have also to add the “Email Account Name”. See Setup Email in Business Central
E-mail Address Setup (ADR)
The recipients must be chosen in the E-mail Address Setup. It is possible to combine all the customers / vendors or only some (eg some specific professional roles) with the email templates and mailboxes previously defined.
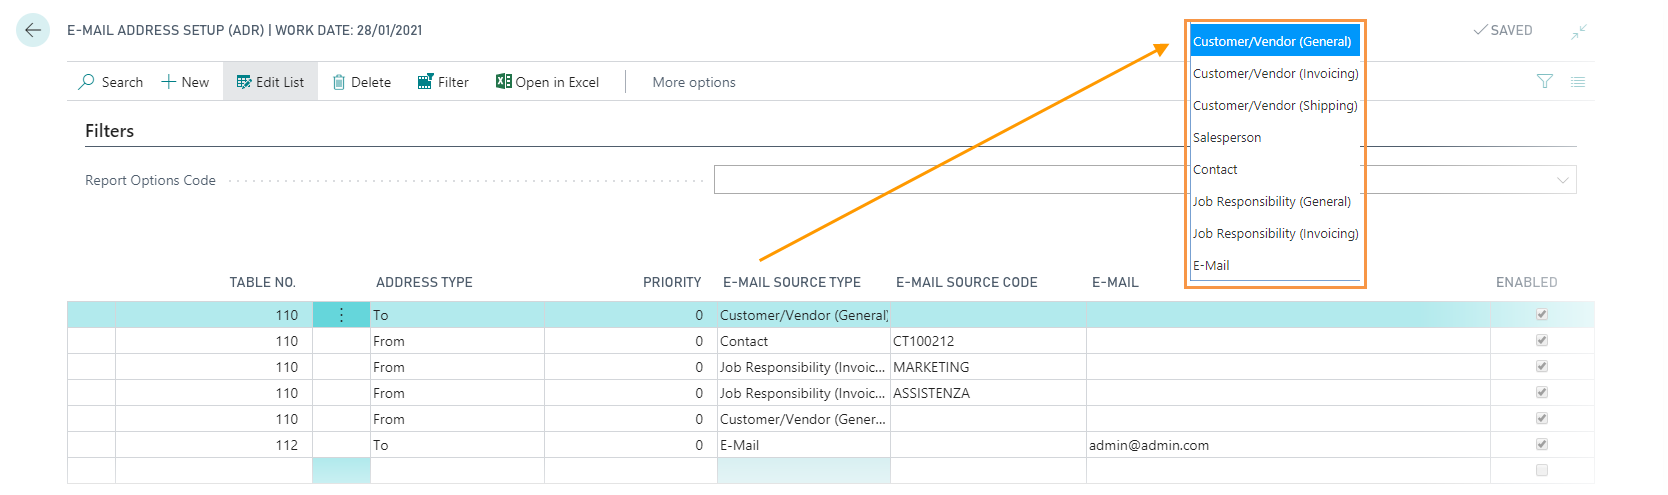
It is possible to choose a report code.
| Field | Description |
|---|---|
| Table No. | indicate the reference table |
| Address Type | specify if the address should be entered in the field “From / CC / BCC / To” of the e-mail |
| Priority | it is possible to define a priority with a number between 0 and 100 |
| E-Mail Source Type | specify where to get the e-mail address (eg from the Customer / Vendor card, from the Contact card, from Contacts with specific professional roles, etc.) |
| E-Mail Source Code | specify the contact or the professional role |
| If the “E-mail” option is chosen in the Email source type, enter an address | |
| Enabled | choose whether to enable the setup line or not |
Send invoices by email / Save documents
From the Posted Invoice list, for example, select one or more documents and press Actions->Advanced Reporting-> Save / Send.
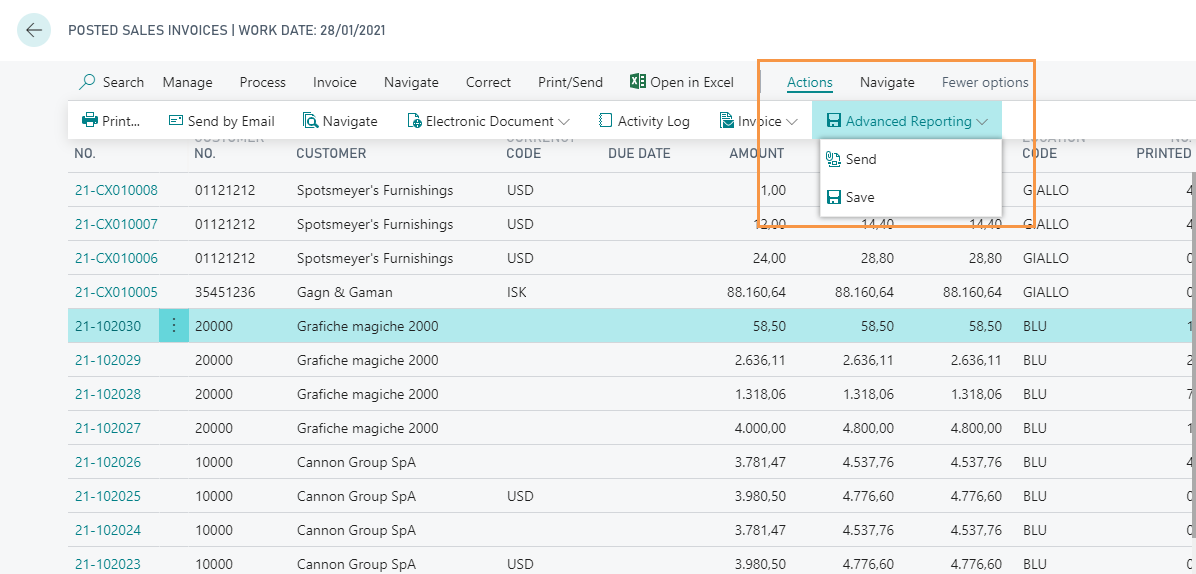
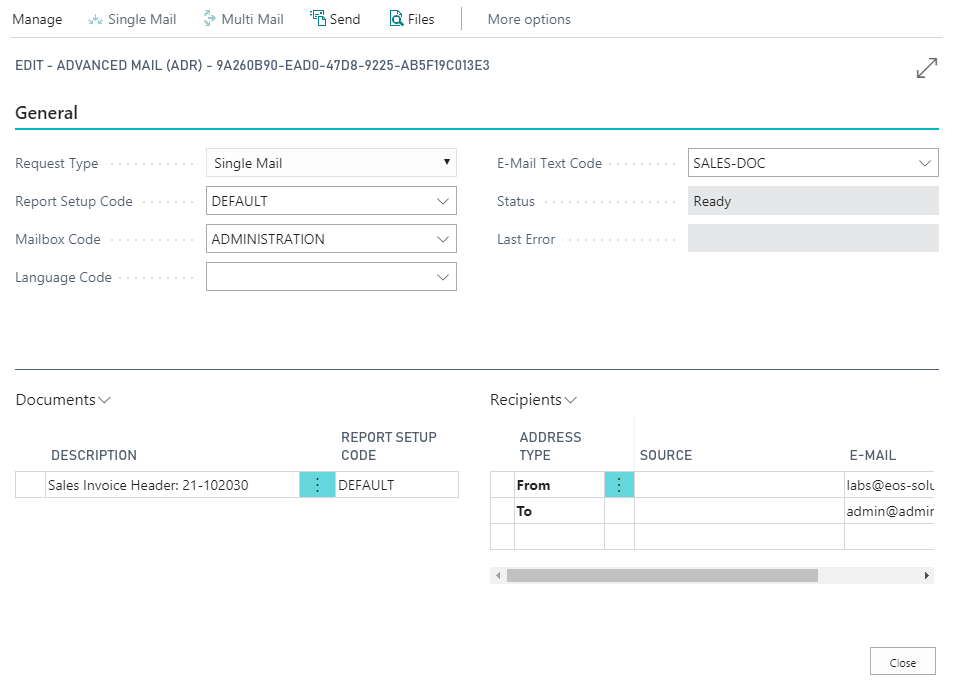
Send
Choose whether to send a single email or an email to multiple recipients. If the recipients are multiple, it is possible to fill in the address fields either manually or by choosing the recipients by pressing on the three dots. In the general setup you can modify or keep the proposed defaults.
Emails are added to a queue and it is possible to monitor the outcome of the sending.
Save
The system will ask whether to use a specific setup report. Choose it and then save.
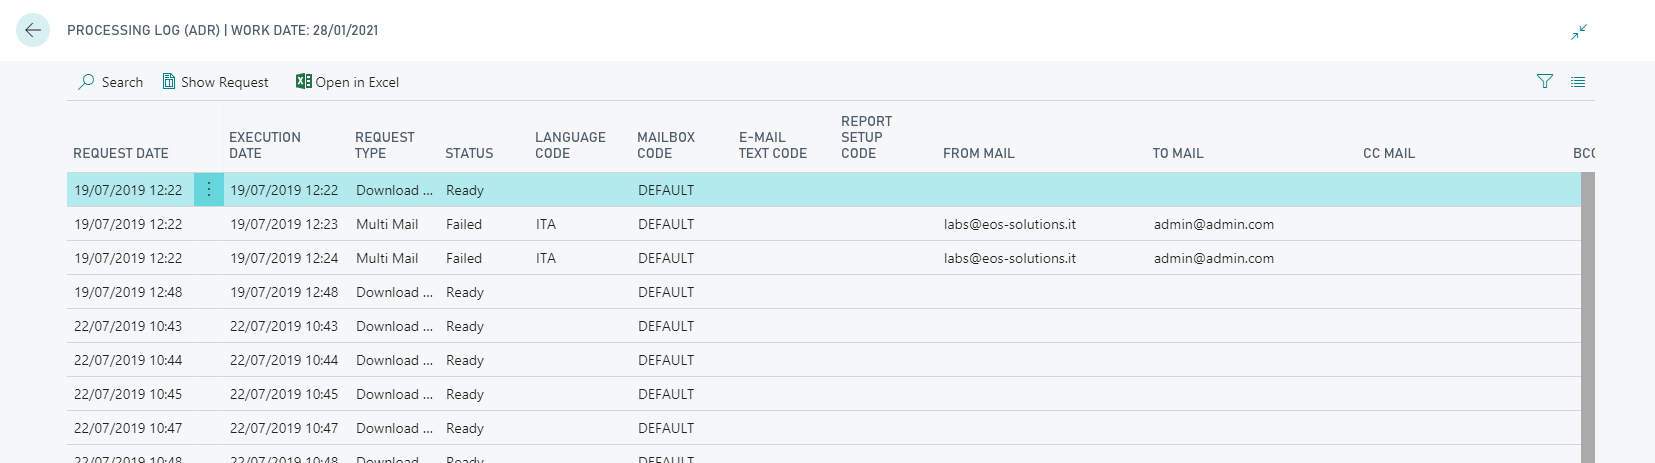
Scheduled Mailings
Processing Log (ADR)
A Log is available to monitor the sending / saving actions:
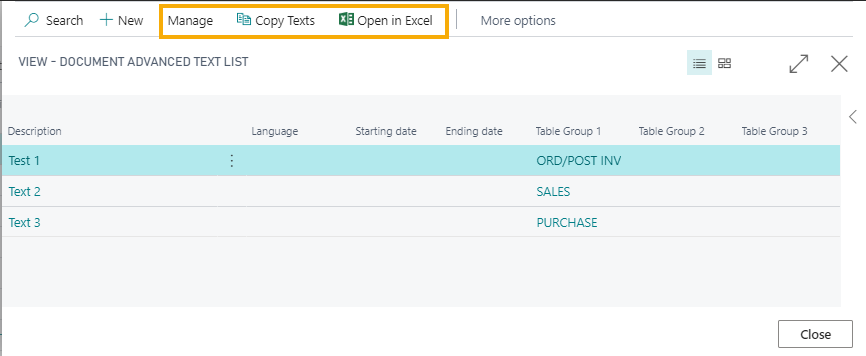
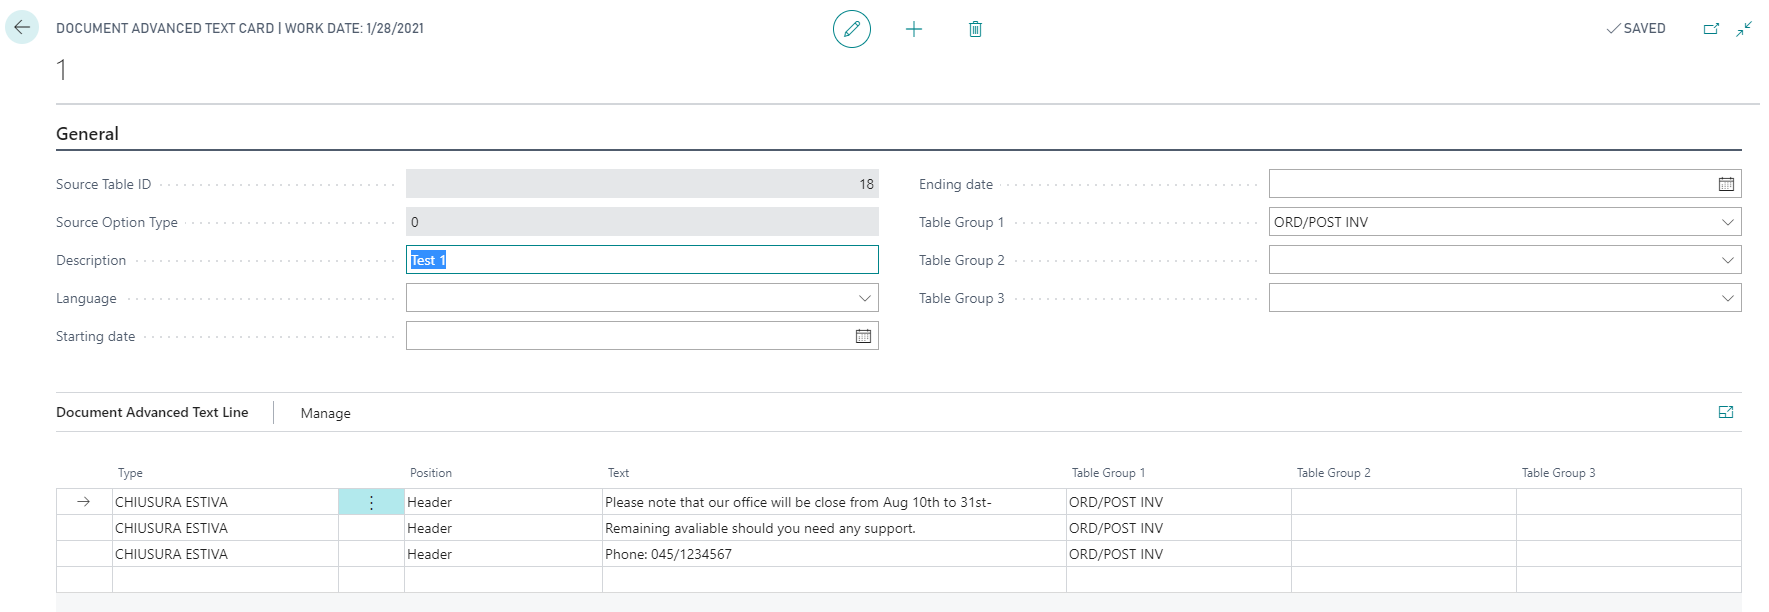
Advanced Text
On the Customer List open Navigate->Advanced Text:
| Action | Description |
|---|---|
| New | From New it is possible to enter a new text |
| Manage | Il allows to View / Edit / Delete a text |
| Copy Texts | It is possible to copy text from Documents / Customers/ Vendors |
The Table Groups allow to decide in which cases we want the text to be applied:
| Field | Description |
|---|---|
| Description | Enter a free description |
| Language | You can choose which language code must be applied to the text. If no code is entered, the text applies to all languages. |
| Starting / Ending date | You can enter a time interval in which the text will be valid |
| Table Group 1,2, 3 | You can apply Table Groups as a filter to decide where the advanced text will be applied, Sales, Purchase, Service, are available by default. From New it is possible to encode other table groups. |
| Type | It defines the type of text. This field will filter texts to be printed in the Report Setup (ADR)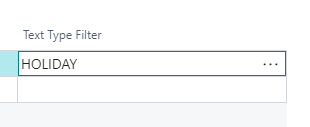 |
| Position | Choose whether the text will be placed in the header or footer |
| Text | Digit the text (maximum lenght 100). You can write the text directly in the lines or from Manage->Editor. |
Table Groups and Table Shortcut
To define the tables groups which will be reported on advanced text click, for example, on the drlldown botton in the Group 1 field.
The system will open the Table Groups page:
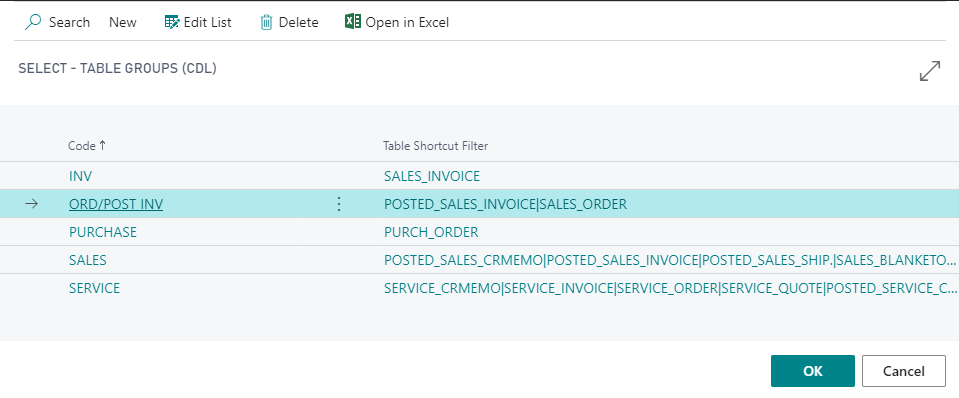
From the field table shortcut, you can open the page to choose:
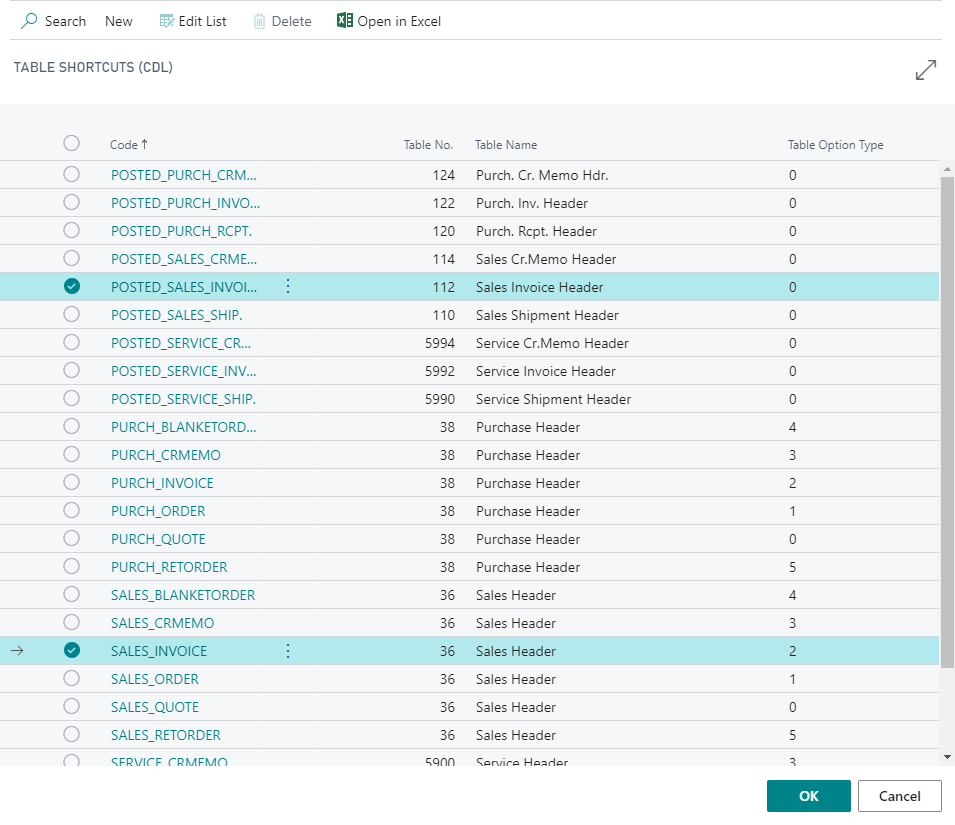
In this list the tables are encoded with a code based on their logic function. This list is already present in the system by default.
When creating a sales order and verifying from Navigate->Extended Text we will find only Text 1 and Text 2 (Text 3 will be written only on purchase orders):
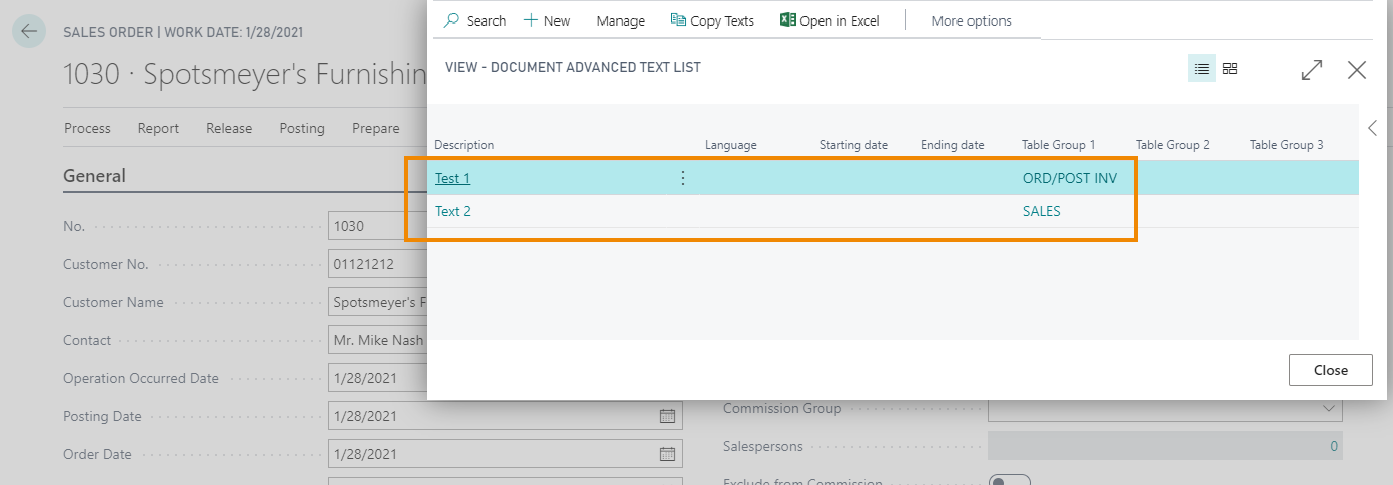
From New it is always possible to add advanced texts, which in this case will be referred to the order that we are creating and will be inherited by the posted invoice.
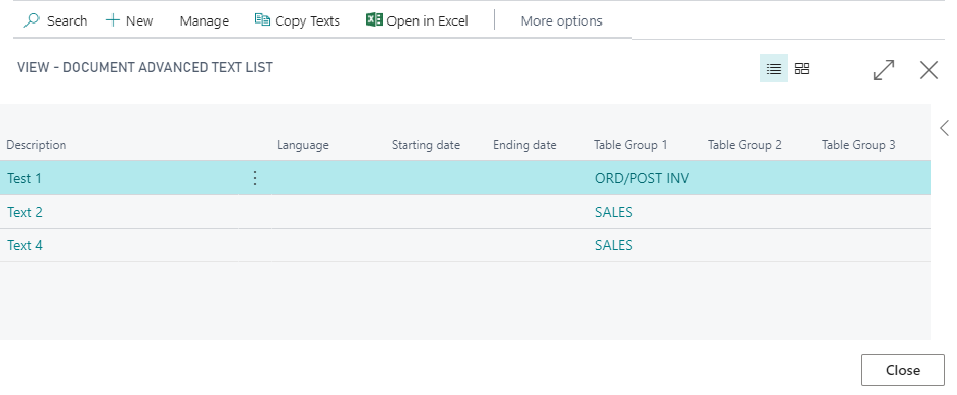
Now we add a “Text 4”:
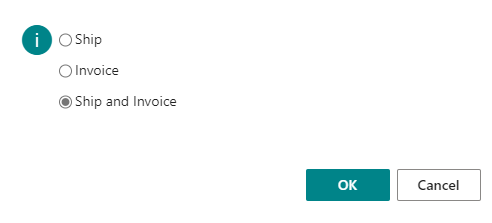
and we post Invoice and Shipment:
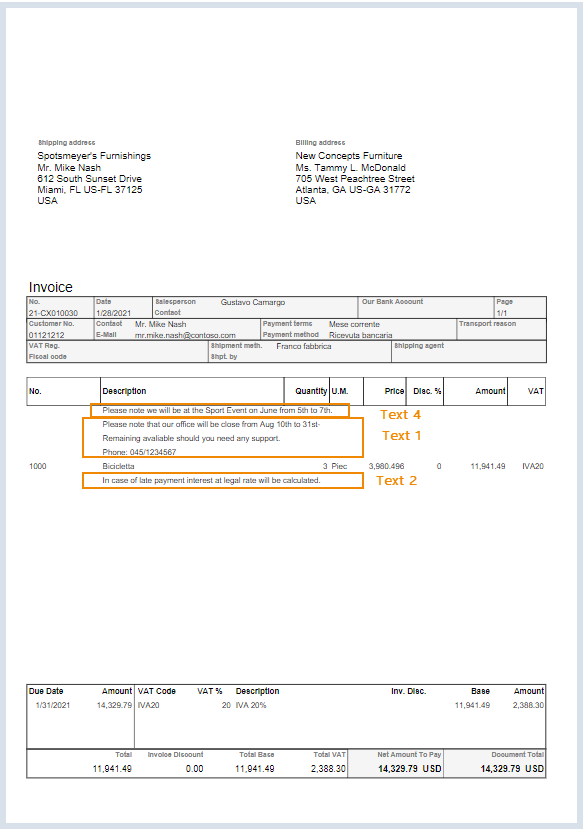
and then opening the posted invoice we will see that the system reports on the document the advanced texts on the customer card plus the Text 4 we added to the order:
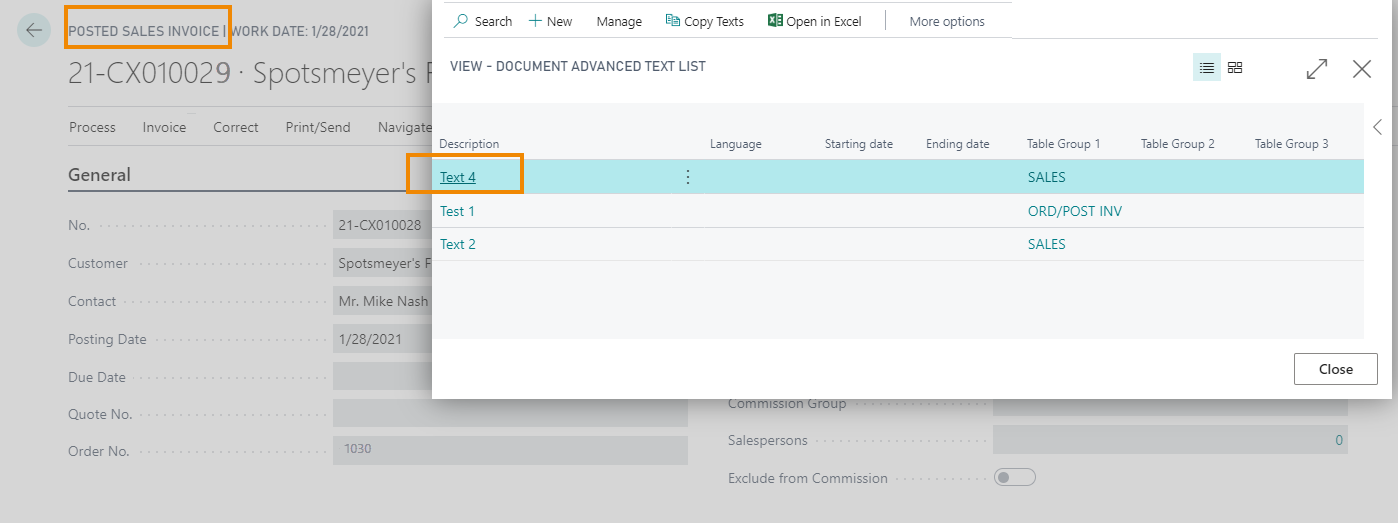
NOTE
On the posted invoice the advanced text is not editable. It can be deleted by Manage->Delete.Print Advanced Text
On Report Setup (ADR) from Layout Sorting we can activate the Header and Footer printing:
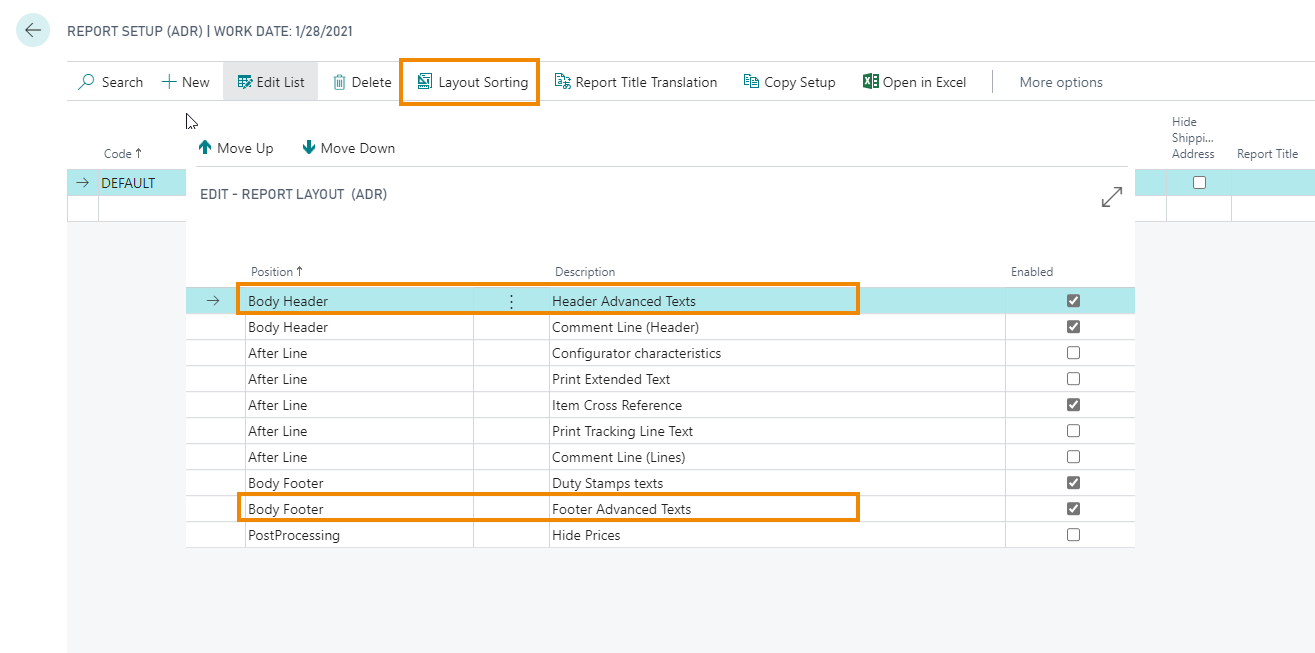
The Text Type Filter field lets you choose whether to print a specific text. If empty, all Advanced Texts will be printed.

From Report Selection - Sales verify that the invoice report is correct:
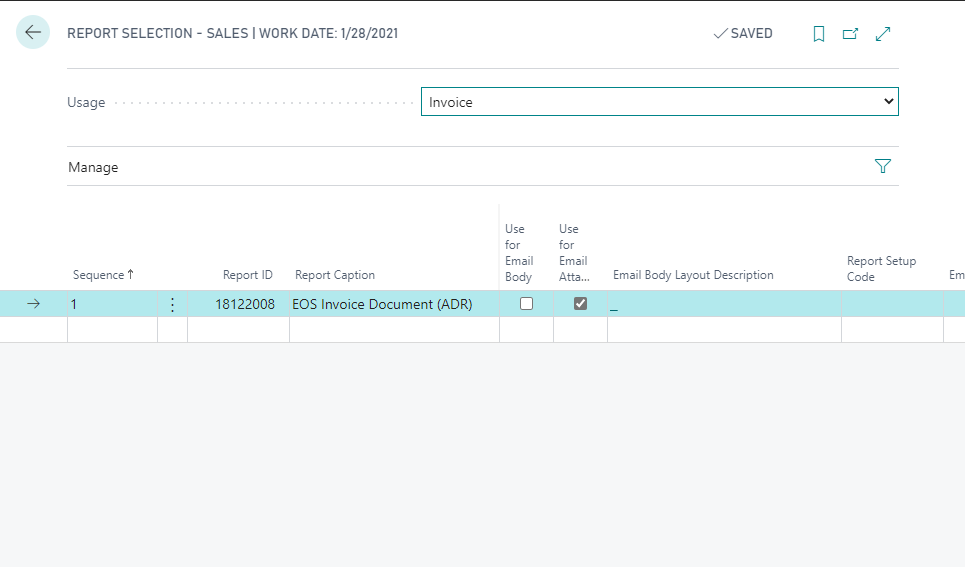
and print the document
Feedback
Was this page helpful?
Glad to hear it! Please tell us how we can improve.
Sorry to hear that. Please tell us how we can improve.