Power WMS app features
The main features of Power WMS are:
- Multilanguage. Translations can also be managed by the end user.
- Multi company.
- Configurable environment: Type of barcode for activities, custom actions, synchronous or via job queue, etc.
- “Off-line” operation for the management of data collection within a document.
- Multi-device operation: Android, Apple, Windows.
- Customizable themes.
- Logics developed in BC with the possibility of being extended.
The functionalities implemented are as follows:
- Item Information
- Item information
- Bin content by bin
- Bin content by item
- Bin Content By Tracking
- Receipt
- Purchase receipt
- Sales return shipment
- Transfer receipt
- Shipment
- Purchase return shipment
- Transfer Shipment
- Sales Shipment
- Inventory
- Item reclassification
- Item Journal
- Bin reclass
- Item tracking reclass
- Phys. inventory
- Warehouse
- Warehouse receipt
- Put-away
- Picking
- Warehouse shipment
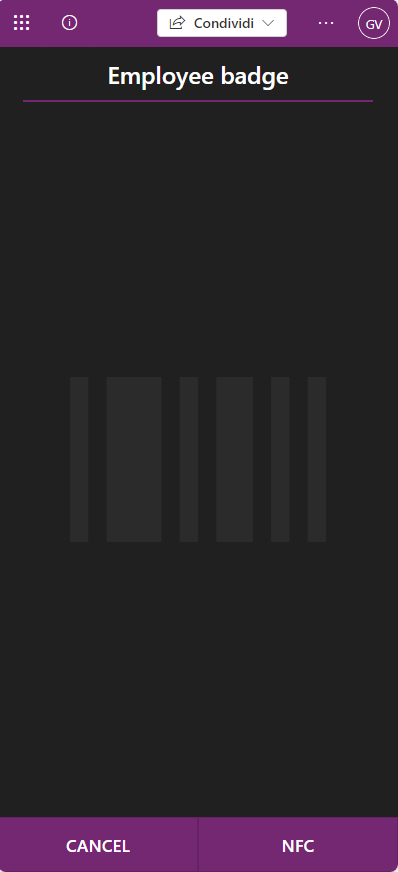
When the power app opens, it asks the user for their work company and badge:
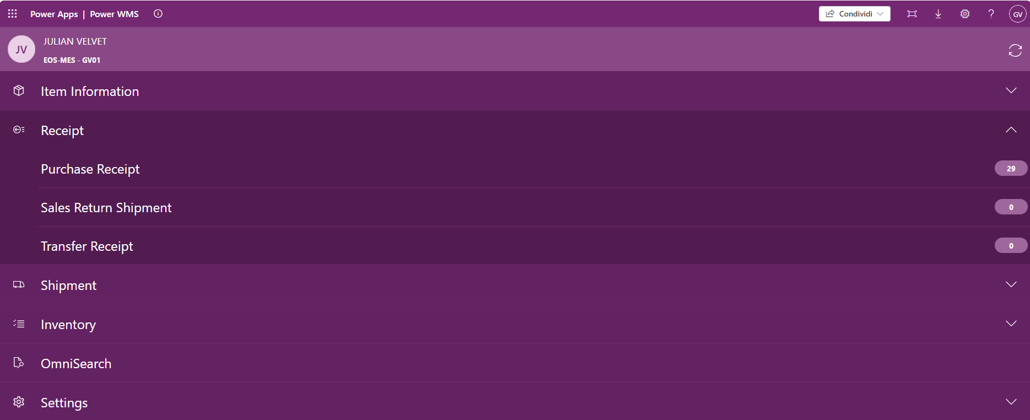
The main menu contains all operator-enabled tasks.
A number of basic settings can be changed via the Settings menu. For example:
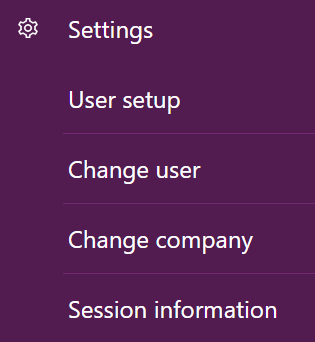
- You can use the user setup to change the default location.
- The Change User allows you to change the operator.
- The Change Company allows you to change the BC company where the transactions are registered.
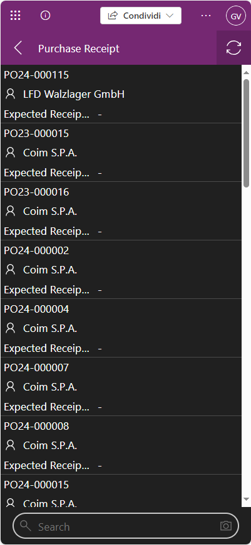
For example, if you select the Purchase Receipt activity, you will see all the purchase orders that are included in the filter in the WMS user setup for this activity. It is possible to search for the desired document by entering the Number, or the relative barcode, in the appropriate search field. By also entering the name of the vendor, you can filter the documents.
Once the document is selected, the power app displays the lines of the document. The rows are grouped according to the Scan Mode defined in the user setup. In this example, the scan mode is Fast, so the rows are grouped by item/variant/location/bin/unit of measure. The barcodes are scanned directly from this page and the Power App itself will pair them with the correct document line.
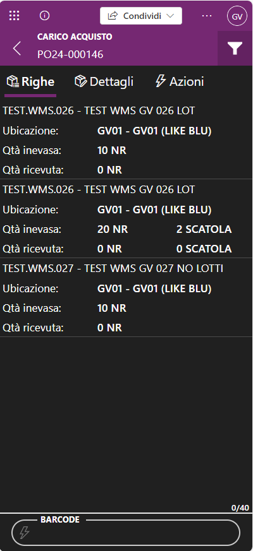
To understand the actual difference between the scanning modes line, group and fast, let’s imagine that we have a document with 5 lines in which in the first and second lines and in the third and fourth lines the items are the same:

In the power App with different setups, you get:
In line mode, you see all the lines that make up the document. To start the scan you have to go into every single line.
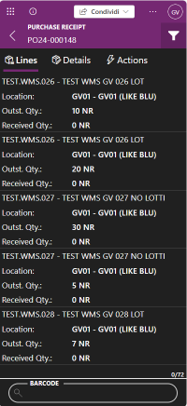
**In group mode, you see all the lines that make up the document grouped by item / variant / location / bin / UoM. To start the scan you have to go into every single line. **
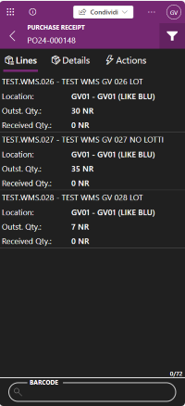
**In fast mode, you see all the lines that make up the document grouped by item / variant / location / bin / UoM. you can start scanning items without going into every single line. **
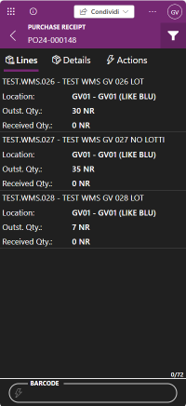
After taking the readings, you can go into every single line of the document and view/edit/delete the individual scans.
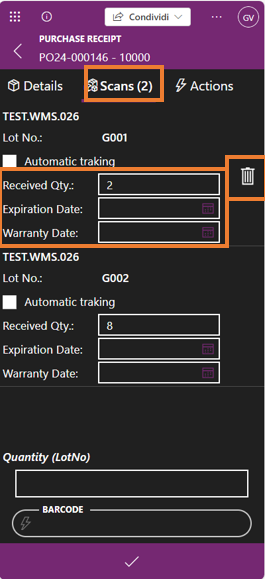
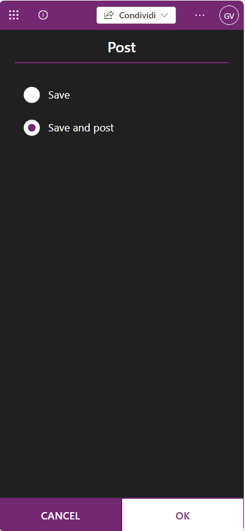
Once you have finished scanning the items, you can do the following operations:
- Save. Store scans in BC. The operator may resume scanning at a later time.
- Save and Post. Stores scans and post the document.
Feedback
Was this page helpful?
Glad to hear it! Please tell us how we can improve.
Sorry to hear that. Please tell us how we can improve.